Lithic Dashboard - Authorization Rules UI
Managing Authorization Rules in the Lithic Dashboard
This guide covers configuring and managing Authorization Rules directly in the Lithic Dashboard interface. Users can create, edit, and monitor rules that control transaction authorizations across a card program without writing code.
Introduction
The Lithic Dashboard provides a visual interface for managing the same powerful Authorization Rules engine available through the API. This interface makes transaction control more accessible to team members without technical backgrounds, allowing for faster response to emerging fraud patterns and more flexible control over card programs.
Unlike API-based rule management, the Dashboard interface offers immediate visual feedback and simplified workflows for common tasks, making it ideal for day-to-day rule management and urgent fraud response scenarios.
Getting Started with Authorization Rules
Accessing the Rules Interface
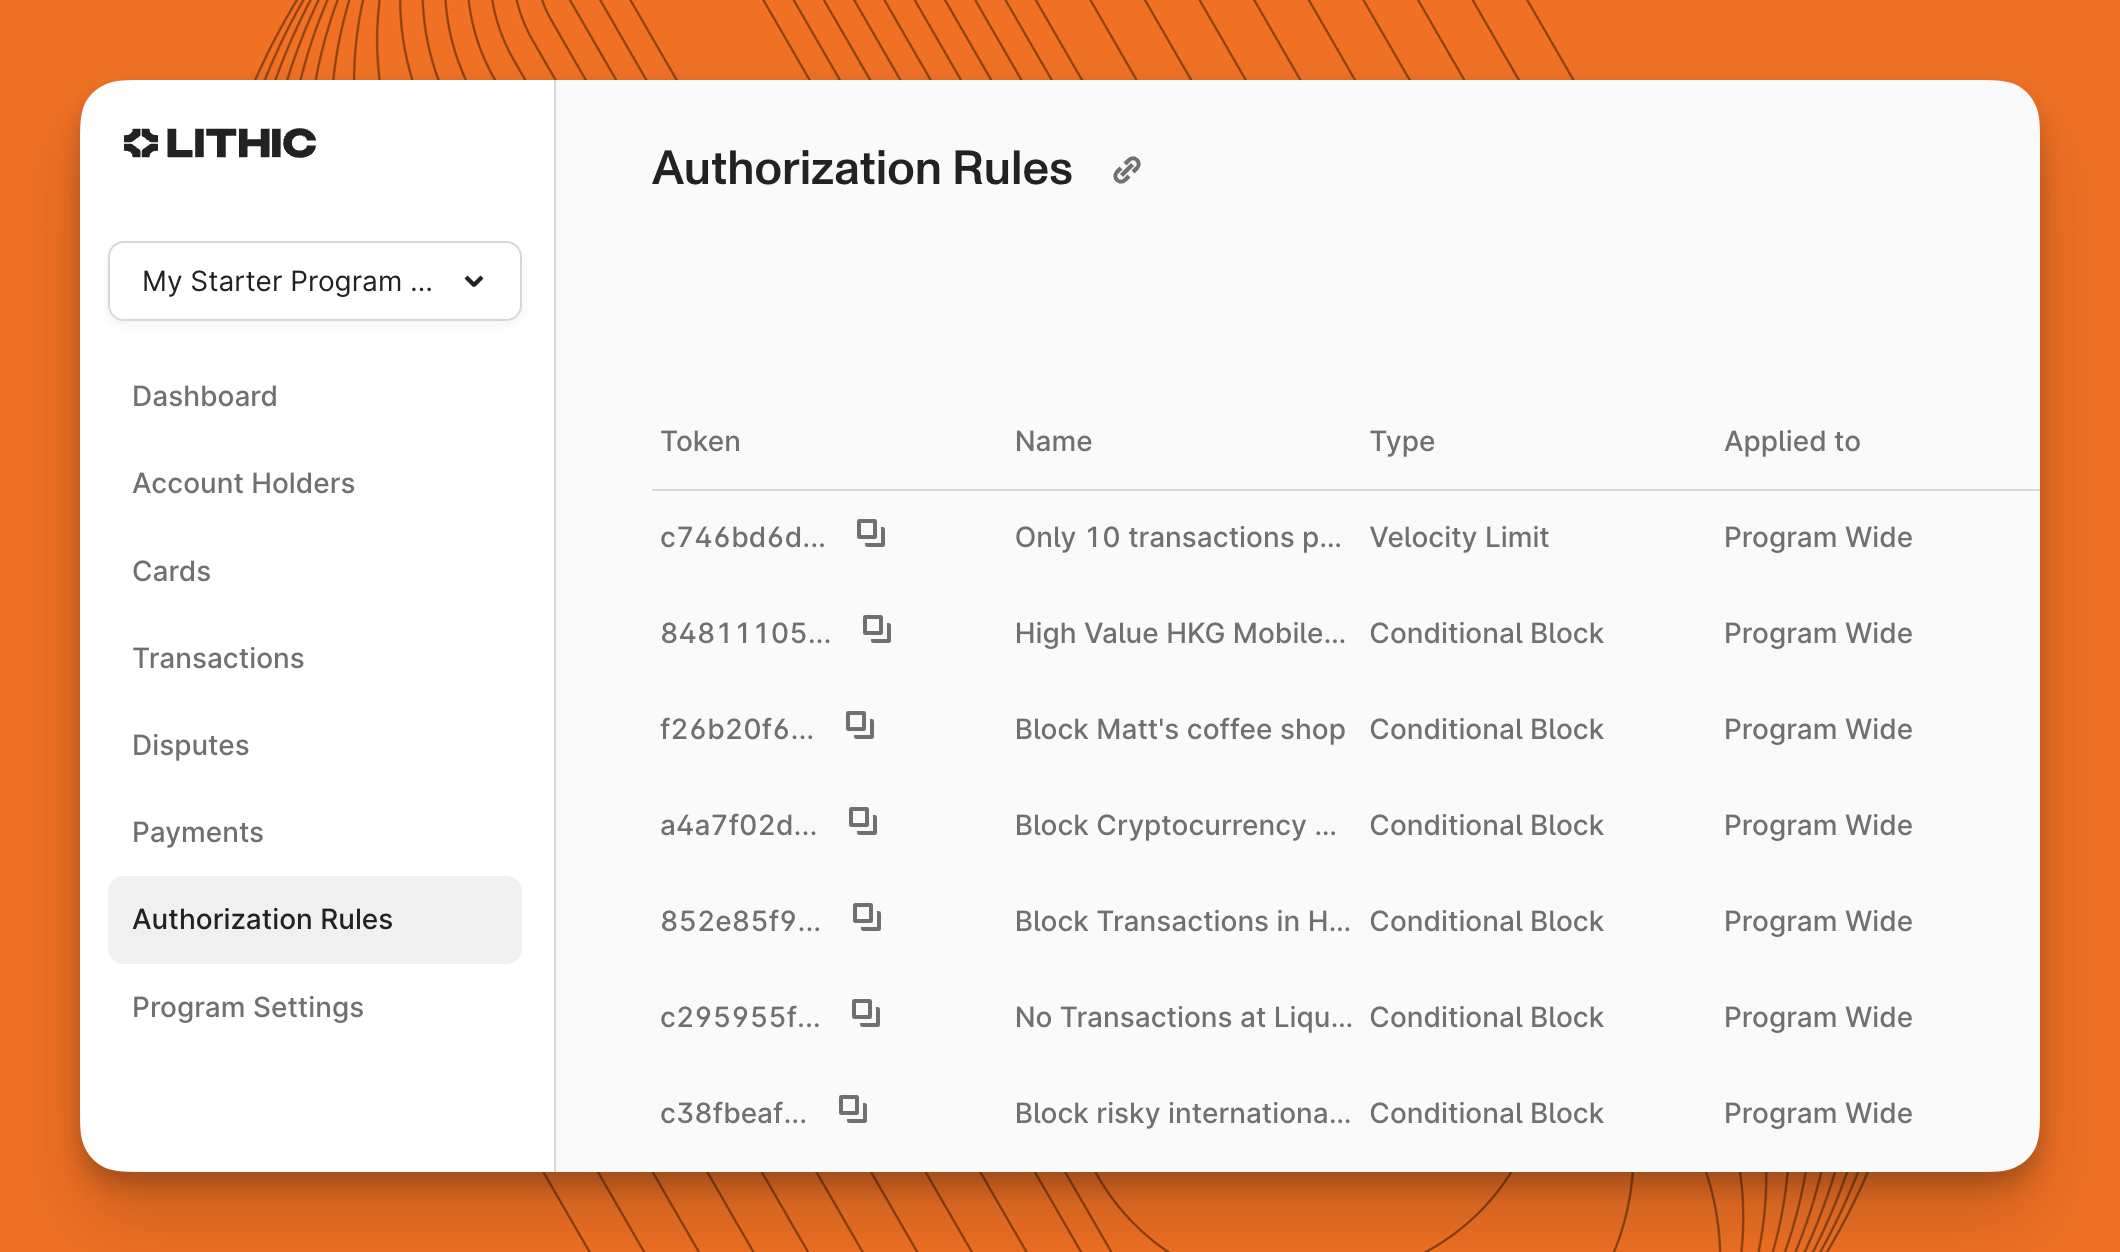
The Authorization Rules section can be found in the left navigation menu of the Lithic Dashboard. This central hub provides visibility into all active, shadowing, and inactive rules across a program.
The main Authorization Rules screen displays a comprehensive list of all rules configured for a program, including their status (active or inactive), scope (program, account, or card level), and rule type (conditional block or velocity limit).
Understanding the Rules List
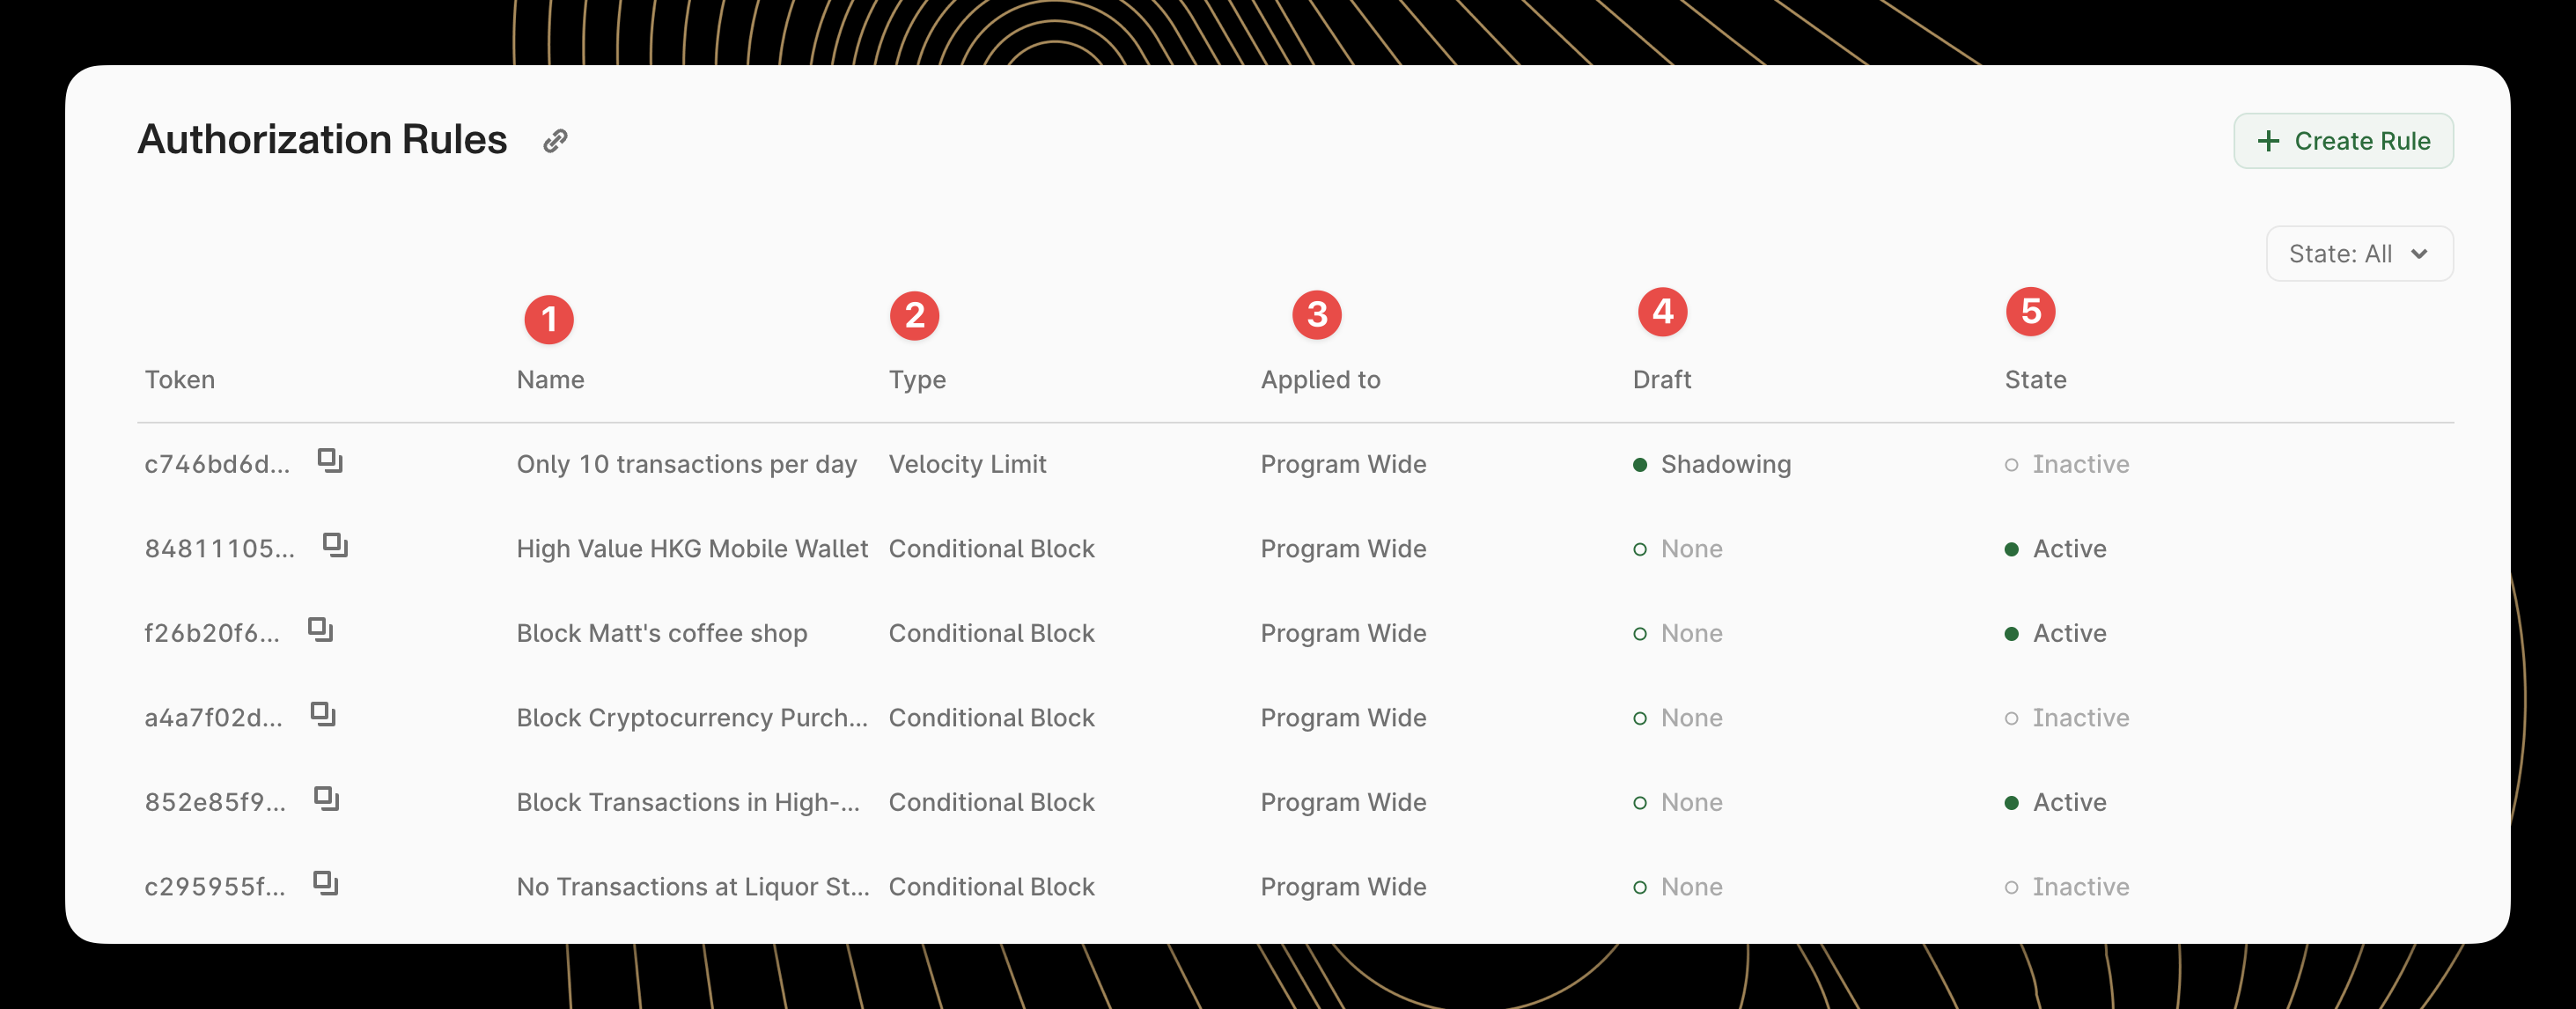
The rules list provides at-a-glance information about each rule:
- Rule Name: A descriptive identifier assigned to the rule
- Type: The kind of rule (conditional block or velocity limit)
- Scope: Where the rule applies (program-wide or specific accounts/cards)
- Draft Configuration: Whether a draft configuration is being measured in Shadow Mode
- State: Whether the rule is currently active or inactive
Creating Rules in the Dashboard
Creating rules through the Dashboard interface follows a guided process that helps build effective transaction controls without needing to understand API parameters or JSON structures.
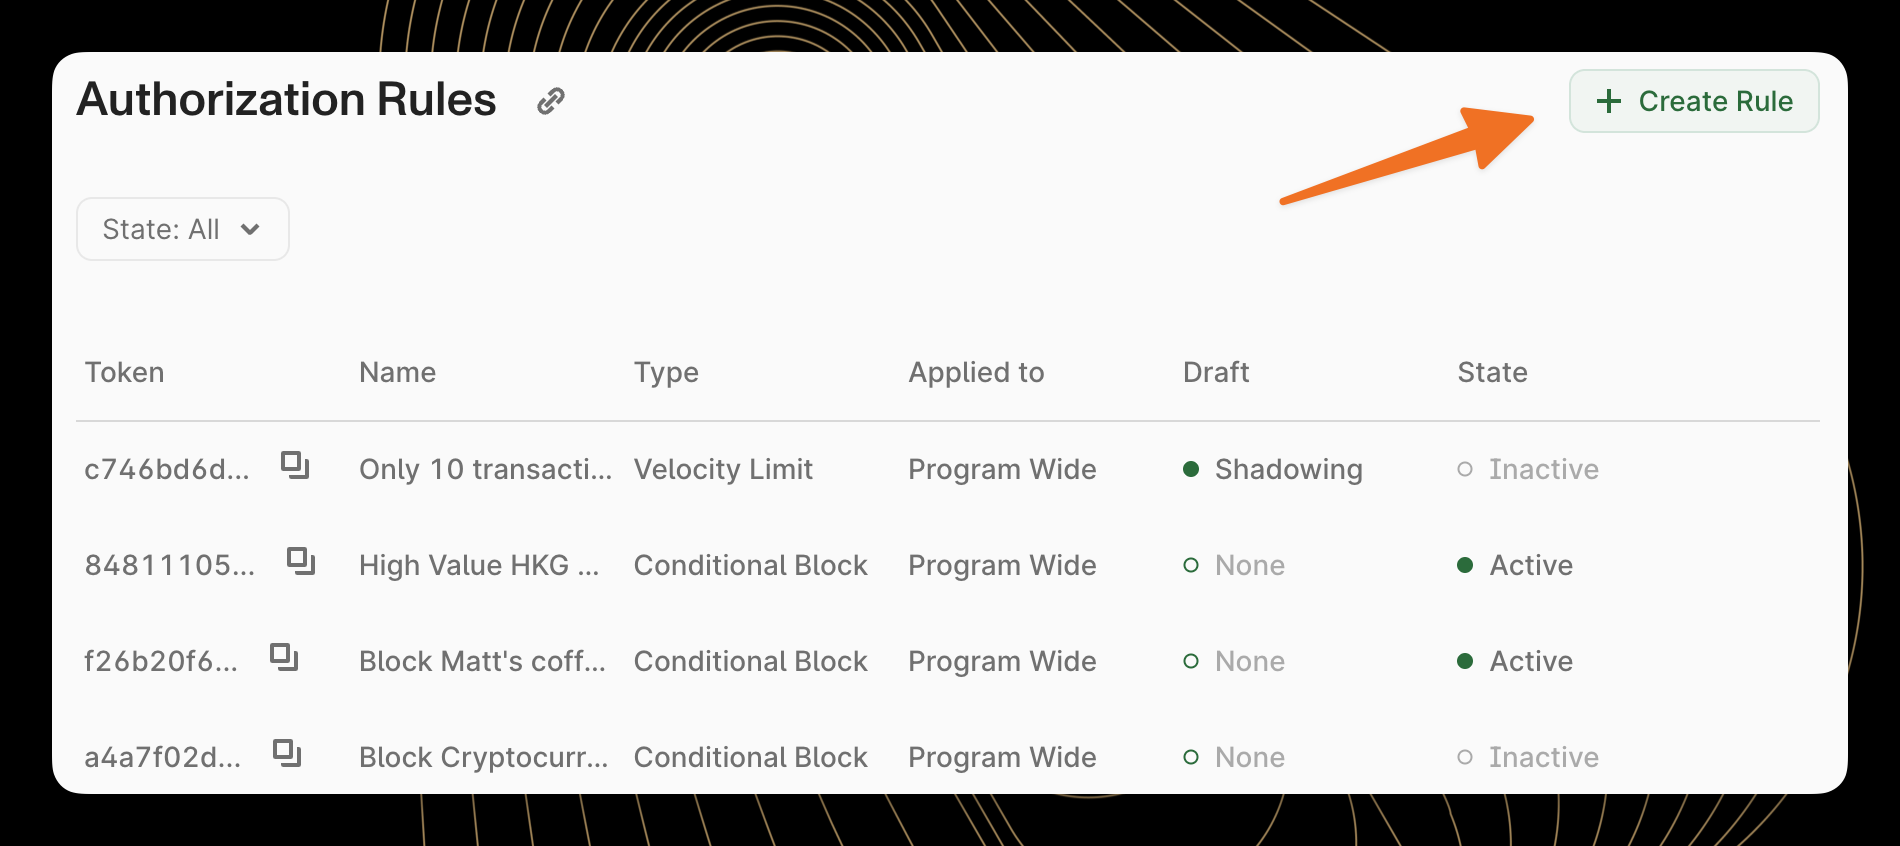
To begin creating a new authorization rule, users can click the "Create Rule" button in the top right of the Authorization Rules screen. A step-by-step form guides the process to ensure rules are properly configured.
Naming Rules
Rules should have clear, descriptive names that help identify their purpose at a glance. Effective rule names typically include:
- The primary action or intent (Block, Limit, Restrict)
- The target of the rule (specific countries, MCCs, etc.)
- Any special scope information if not program-wide
For example: "Block High-Value Gaming Transactions" or "Daily Spend Limit - VIP Accounts"
Defining Rule Scope
One powerful feature of Authorization Rules is the ability to apply them at different levels of a program hierarchy. The Dashboard makes this selection intuitive through a simple set of options.
Program-Level Rules
Program-level rules provide broad protection across an entire card base. These rules are ideal for implementing program-wide policies or responding to widespread fraud patterns.
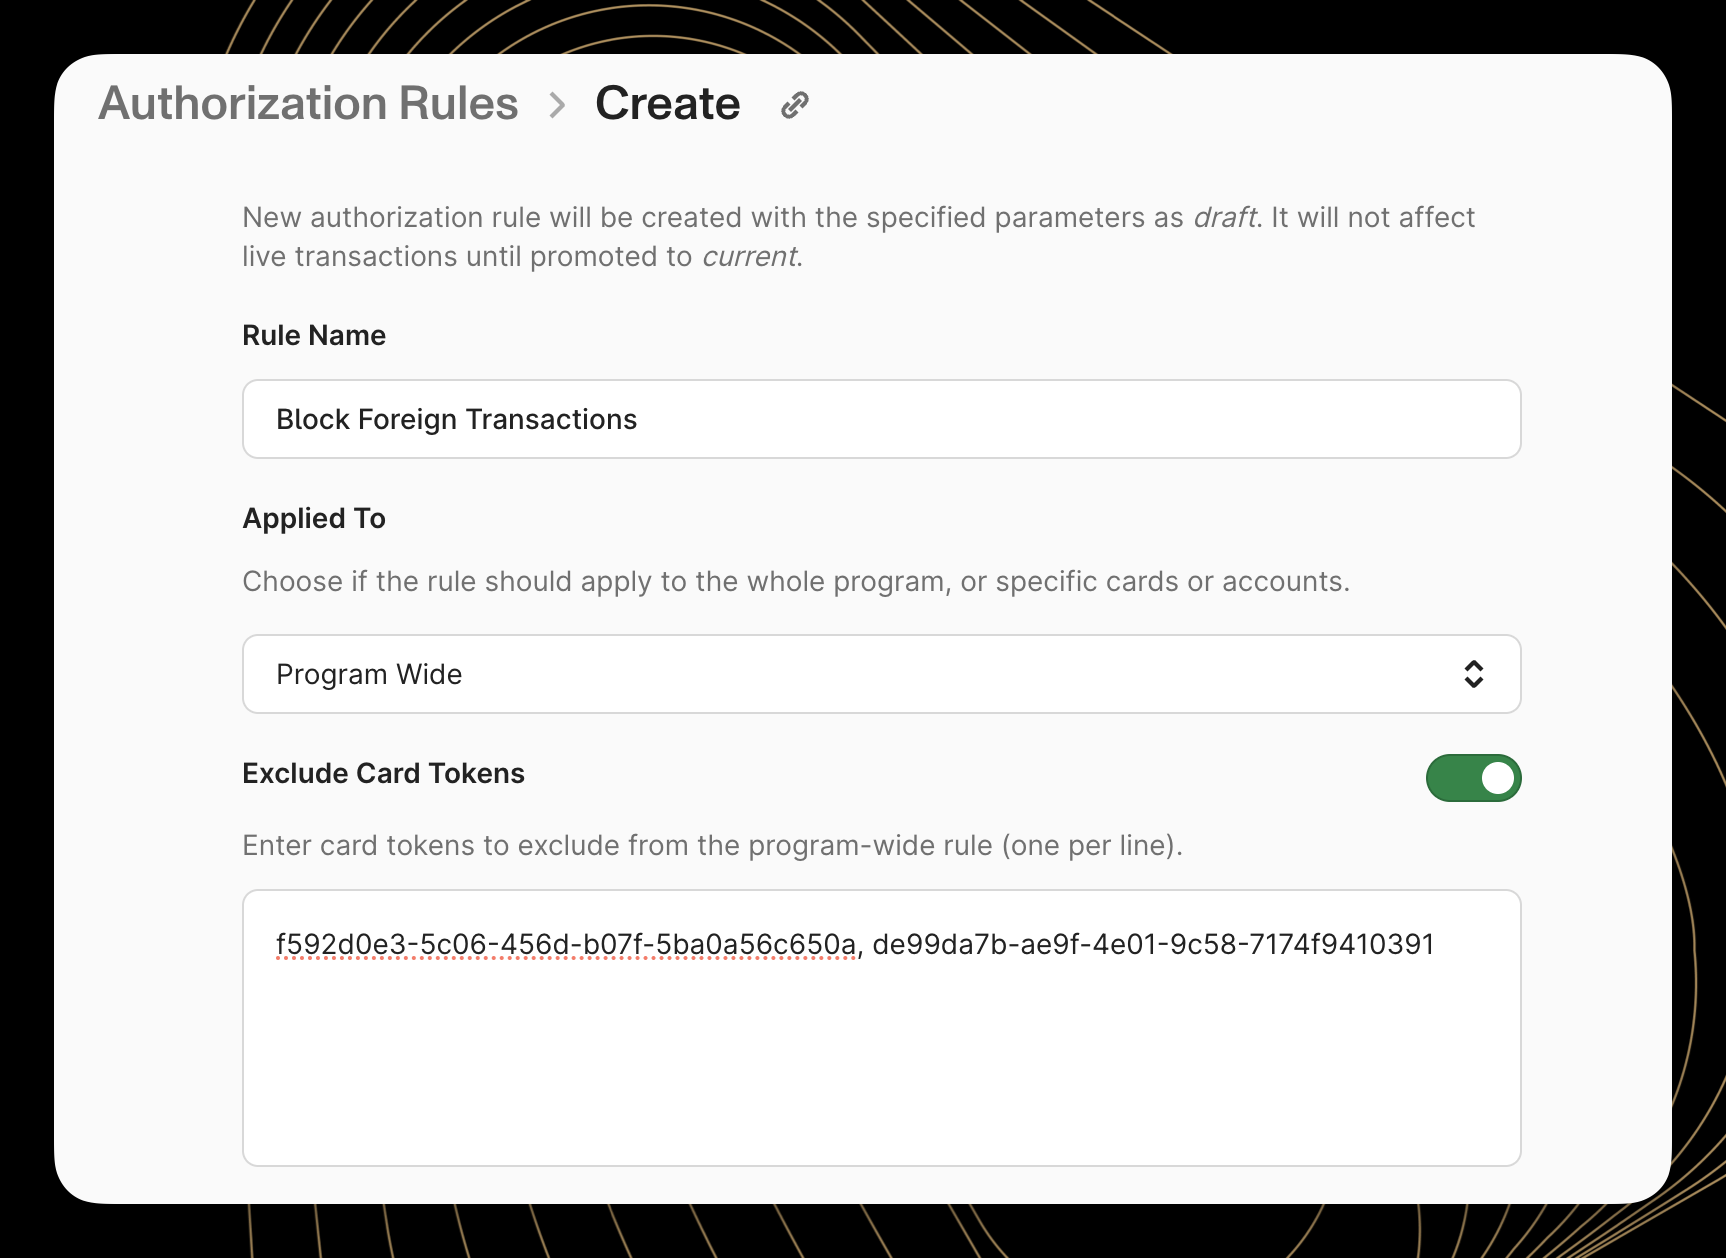
When creating a program-level rule, users will see an option to "Exclude Card Tokens." With this setting unchecked, the rule evaluates every transaction across the program. By enabling this setting, specific accounts or cards can be excluded from the rule as needed.
For example, perhaps a card program has a rule to block foreign transactions that should apply to every card and account on the program. However, a cardholder has notified the program that they will be traveling internationally. In this case, the card program can choose to exempt that specific cardholder's card from the international transaction block, while retaining the rule for all other accounts and cards on the program.
Account-Level Rules
For more targeted control, account-level rules allow authorization logic to be applied to all cards associated with specific cardholder accounts. This is particularly useful for implementing different policies based on factors that influence individual accounts.
To configure account-level rules, users must select "Apply to: Account Tokens"; users are prompted to enter account tokens in a comma separated list. Multiple accounts can be added to apply the same rule across a particular segment of the customer base.
Card-Level Rules
The most granular control comes from card-level rules, which allow targeting individual cards with specific authorization logic. This is ideal for high-risk cards or special use cases that require unique handling.
To configure card-level rules, users must select "Apply to: Card Tokens"; users are prompted to enter card tokens in a comma separated list. This precision targeting helps address specific issues without disrupting the broader cardholder base.
Conditional Block Rules
Conditional block rules provide the ability to decline transactions based on specific attributes. The Dashboard interface simplifies the process of building conditional logic through a form-based approach.
Creating Effective Conditional Logic
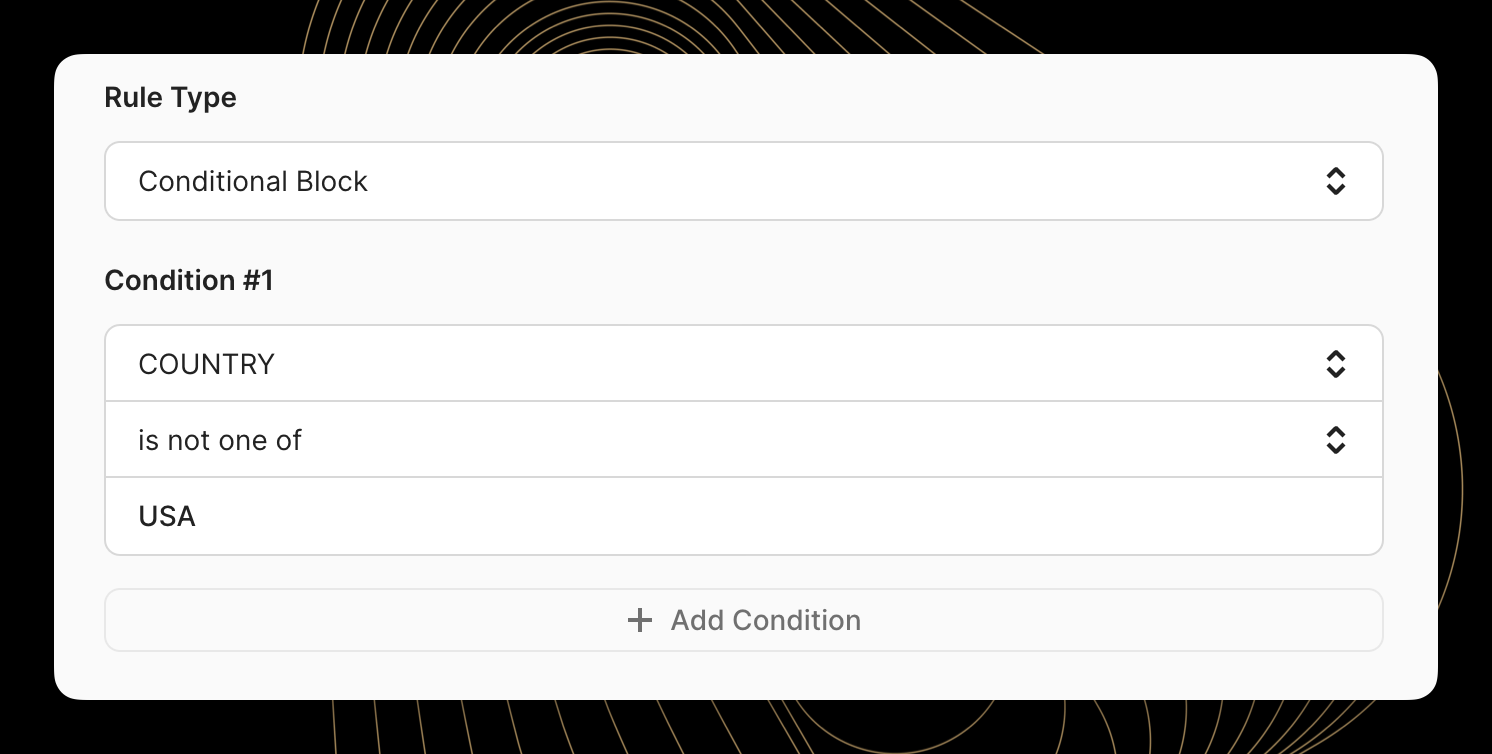
After selecting "Conditional Block" as the rule type, options to add and configure conditions appear. The form includes three key components:
- Attribute selector: For selecting the transaction characteristic to evaluate (e.g., MCC, Country, Transaction Amount)
- Operation selector: For choosing how to compare the attribute (e.g., is one of, matches, greater than)
- Value field: For specifying the target value(s) to match against
This example shows a rule configuration that would block foreign transactions.
Working with Multiple Conditions
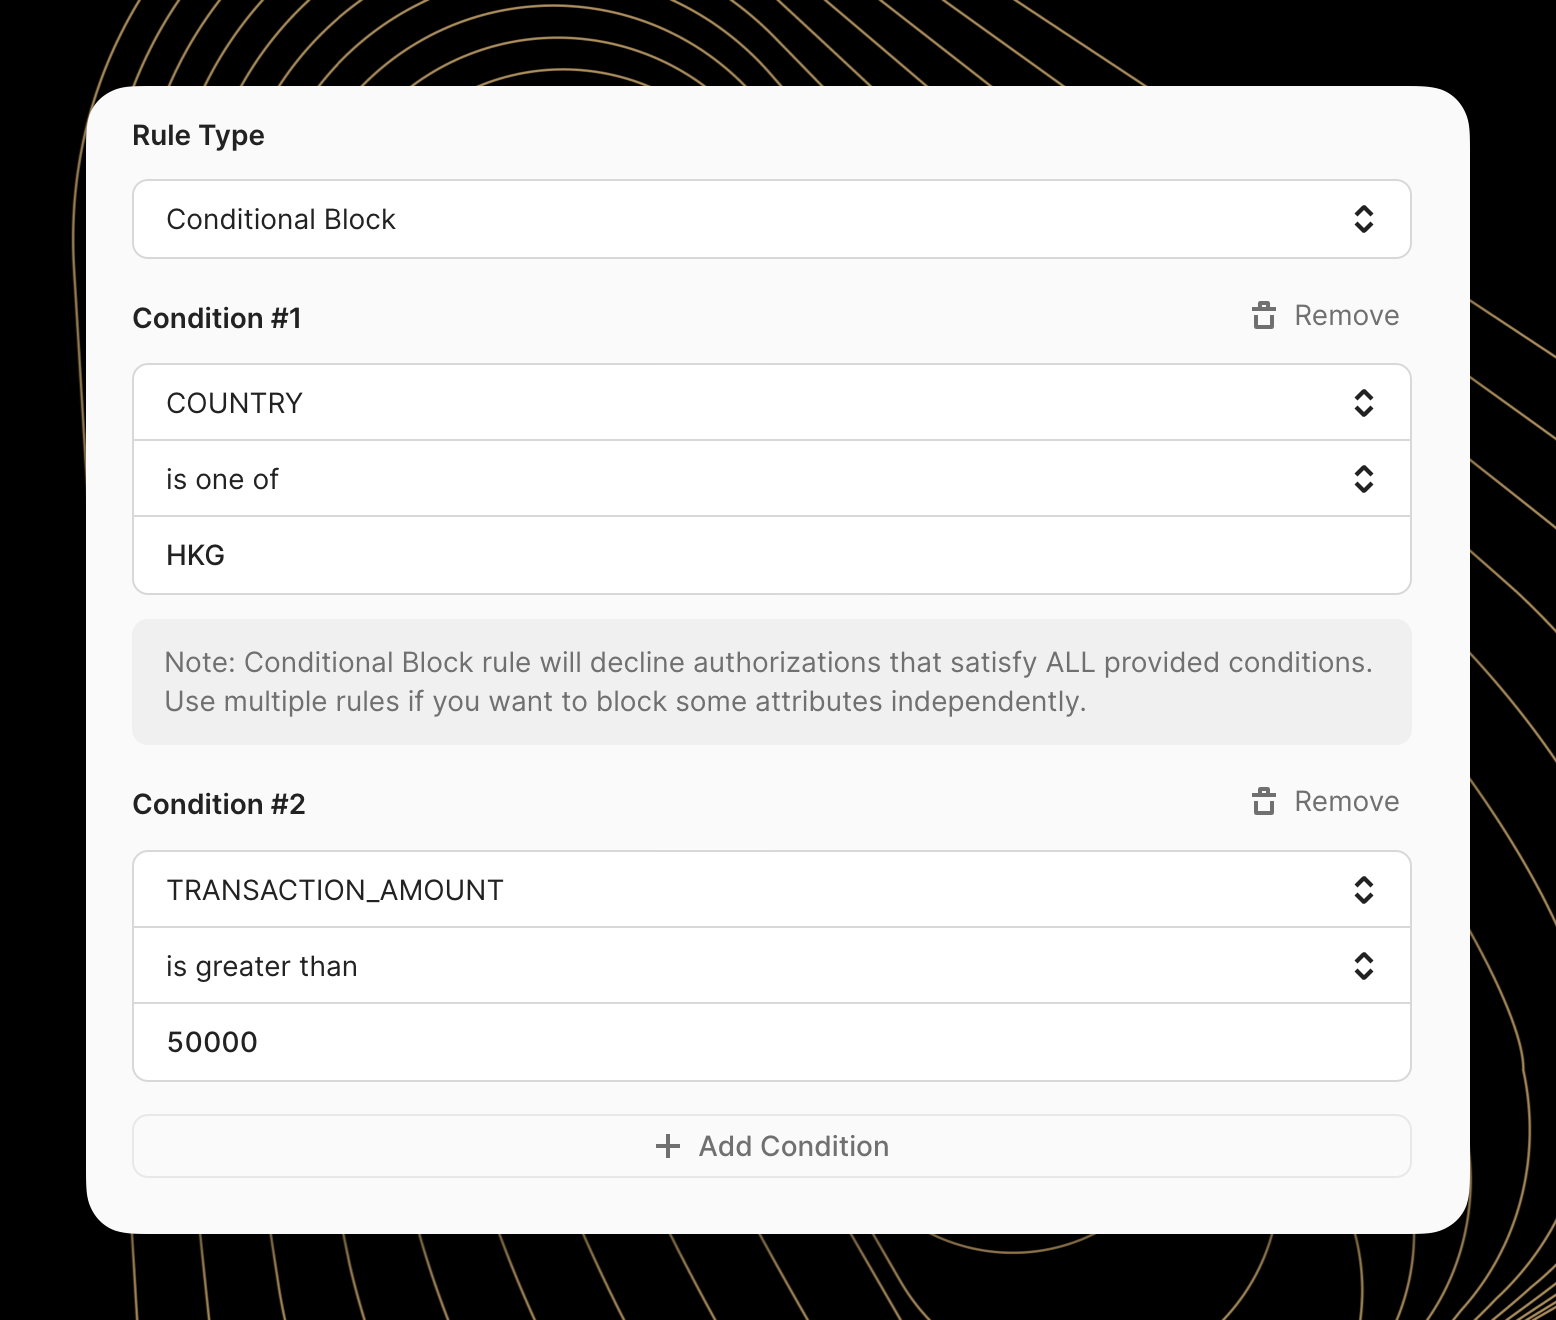
The Dashboard makes it easy to create sophisticated rules by combining multiple conditions. Each time the "Add Condition" button is clicked, a new condition row appears in the form.
All conditions within a single rule are joined with an "AND" relationship. This means the transaction must match ALL conditions to be affected by the rule.
For example, if a rule contains these conditions:
Countryis one ofHKGTransaction Amountis greater than50000
Only transactions which are BOTH from the country of Hong Kong AND greater than $500 will be declined. Lower value Hong Kong transactions and higher value non-Hong Kong transactions will be allowed to proceed because only one of the two conditions are met for the conditional block rule.
For "OR" logic (block transactions matching ANY of several conditions), separate rules should be created for each condition set.
Velocity Limit Rules
Velocity limits help control transaction frequency and spending amounts over defined time periods. The Dashboard provides an interface for setting these limits without needing to construct API requests.
Understanding Velocity Control Options
When "Velocity Limit" is selected as the rule type, the form focuses on five key elements:
- Limit type: Choice between transaction count (how many transactions) or amount (how much spent)
- Scope: For program-wide rules, whether the velocity should be measured at the card or account level
- Limit: The numeric limit that triggers the rule (either number of transactions or value of transactions)
- Time period: The window for tracking (hourly, daily, weekly, etc.)
- Filters: Count only velocity that occurs at specific MCCs or in specific countries.
This approach makes it easy to implement common controls like daily spending limits or transaction frequency restrictions.

Selecting the Right Time Period
The Dashboard offers several time period options for velocity limits:
Calendar-Based Periods:
- Daily: Resets at midnight Eastern Time
- Monthly: Resets at the start of each calendar month, midnight Eastern Time
These options are ideal for aligning with regular reporting cycles or cardholder billing periods.
Rolling Windows:
For more dynamic control, rolling time windows can be specified in hours. Unlike calendar periods, rolling windows continuously move forward, evaluating all transactions within the specified time frame from the current moment.
For example, a 24-hour rolling window checks all transactions in the past 24 hours, regardless of calendar day boundaries.
Managing Rules
Effective rule management goes beyond just creation. The Dashboard provides tools for monitoring, adjusting, and maintaining rules over time.
Viewing and Understanding Rule Details
Each rule in the list can be expanded to view its complete configuration and status. Clicking on a rule name accesses its detailed view.
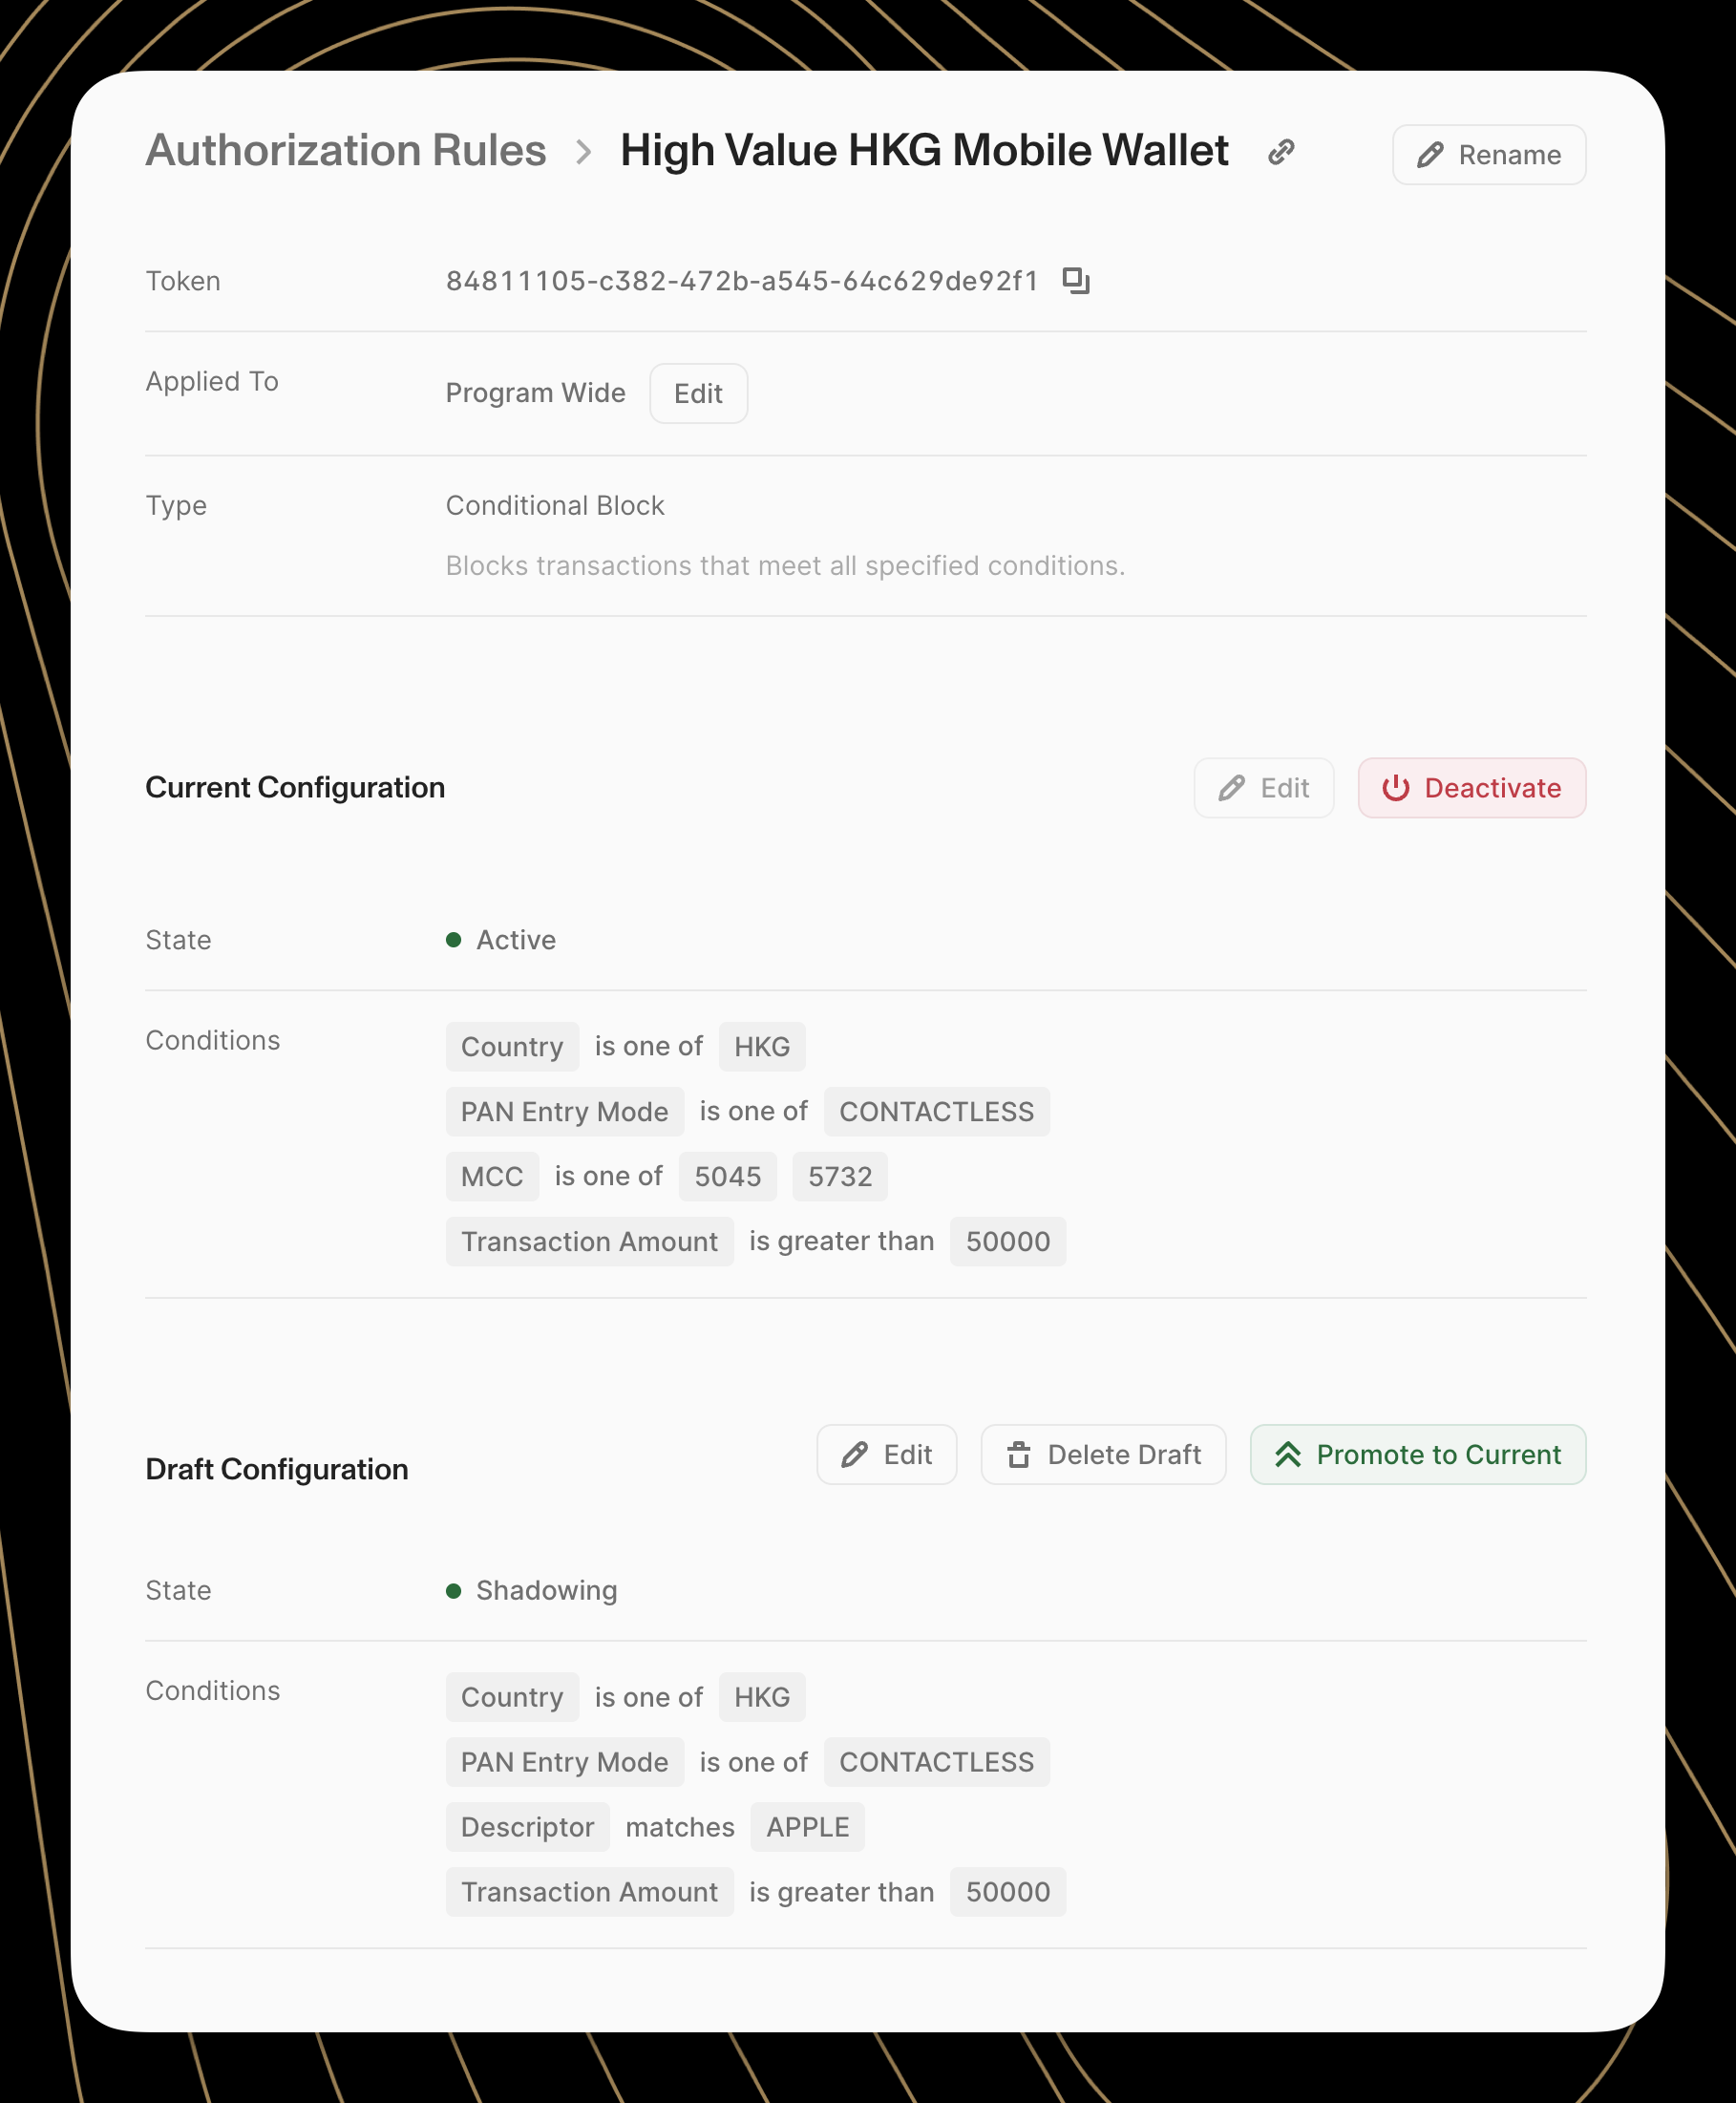
The rule details page provides comprehensive information about how the rule is configured, including:
- Complete scope information (program/account/card level)
- All configured conditions or velocity parameters
- Current status (active or inactive)
- Current Shadow Mode status (Shadowing or inactive)
This detailed view helps users understand exactly how a rule is functioning within the authorization stream.
Making Rule Adjustments
As programs evolve and fraud patterns change, rules need to be adjusted accordingly. The Dashboard simplifies this through its editing interface.
To modify an existing rule running in Shadow Mode:
- Navigate to the rule details page
- Identify the rule Draft Configuration
- Click the "Edit" button to enter edit mode
- Make desired changes to any aspect of the rule
- Review the changes carefully
- Click "Save Changes" to apply updates
Changes to Shadow Mode rules take effect immediately and will begin impacting performance reporting. Shadow mode is a powerful tool for testing authorization rules, and should be utilized to measure the impact of a new rule before implementing it into the live authorization stream.
Rules currently running in Active Mode cannot be directly edited. This is done to prevent accidental rule deployments which could have catastrophic effects to cardholders. To modify an existing rule running in Active Mode, the revisions must first be made to the draft configuration and then promoted to Active Mode:
- Navigate to the rule details page
- Identify the rule Draft Configuration
- Click the "Edit" button to enter edit mode
- Make desired changes to any aspect of the rule
- Review the changes carefully and click "Save Changes" to apply updates
- [Optional] Run a backtest or request a performance report to ensure the Draft rule is performing as expected
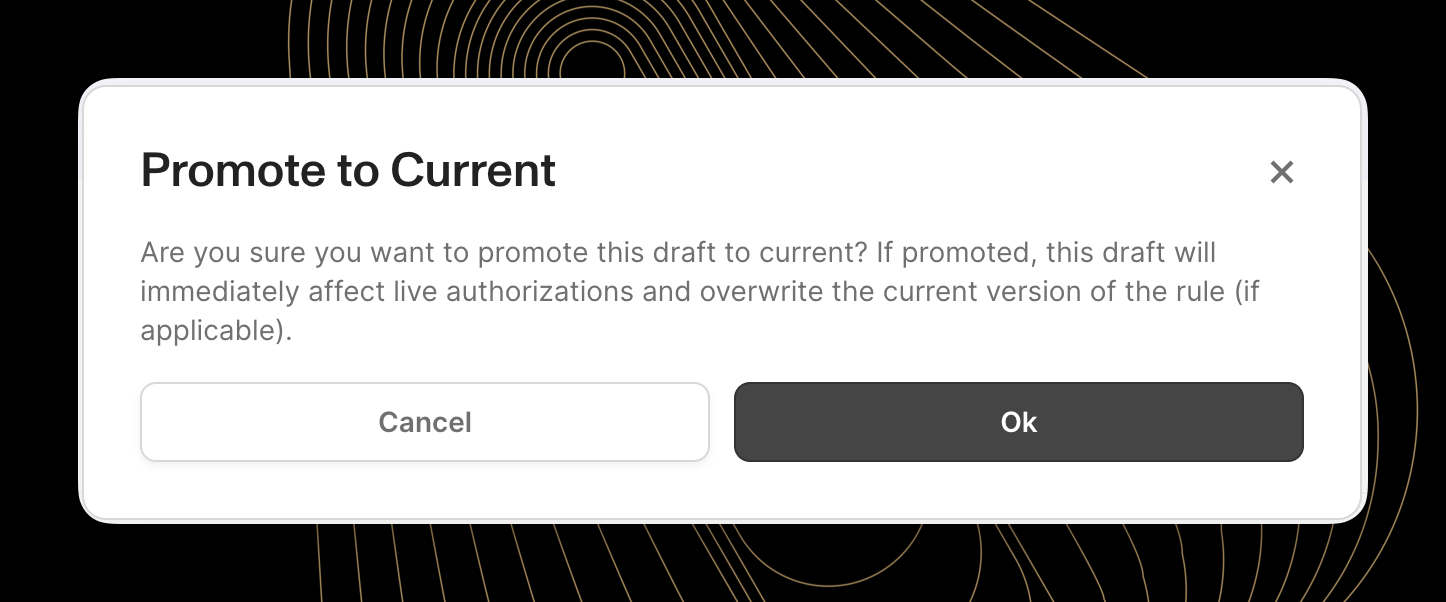
- Click the "Promote to Current" button to apply the Draft configuration to the current version of the Auth Rule, immediately affecting live transactions
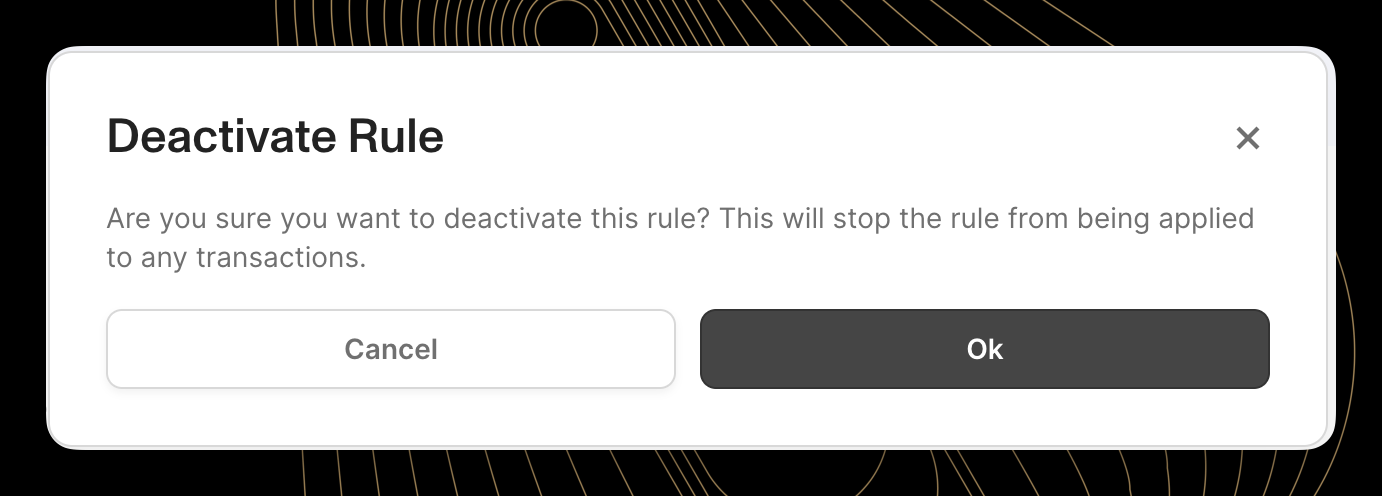
Activating and Deactivating Rules
Rather than deleting rules that may be needed again, the Dashboard allows rules to be disabled without losing their configuration.
The "Deactivate" button provides a way to disable a rule:
- Navigate to the rule details page
- Locate the "Deactivate" button to the right of the active rule
- Click the button to change the rule's status
- Confirm the action when prompted
Best Practices for Dashboard Rule Management
Beyond the technical aspects of creating and managing rules, several best practices can help ensure an authorization strategy remains effective and maintainable.
Establish a Rule Governance Process
A systematic approach to rule creation and management is beneficial:
- Define who has authority to create or modify rules
- Establish review procedures for new rules, especially program-wide ones
- Run backtests and request performance reports for draft rule configurations before deploying rules to production
- Document the purpose and expected impact of each rule with a clear naming convention
- Regularly audit the rule set to identify redundancies or conflicts
This governance framework helps prevent rule proliferation and ensures changes align with the overall risk strategy.
Use a Consistent Naming Convention
With potentially dozens of rules in a program, consistent naming becomes critical for maintenance.
A recommended naming convention includes:
- Rule type (Block, Limit, etc.)
- Primary targeting method (Country, MCC, Amount, etc.)
- Affected segment if not program-wide (Corporate, Premium, etc.)
For example: "Block: Gaming MCCs - Student Cards" or "Limit: Daily Spend $500 - Standard Tier"
This practice not only improves the ease of rule management in the dashboard, but additionally makes it easy to identify which rule declined a given transaction when referencing the "Rule Results" object in the Transactions API.
Regularly Review Rule Effectiveness
Authorization rules should evolve as programs grow and fraud patterns change:
- Schedule regular reviews of rule performance
- Look for rules causing legitimate transaction declines
- Identify rules that rarely trigger and consider refinement
- Assess whether broad rules could be more targeted
The most effective authorization strategies come from continuous refinement based on real-world performance.
Layer Rules for Defense in Depth
Rather than creating a few complex rules, a layered approach can be more effective:
- Use program-level rules for broad, baseline protection
- Add account-level rules for segment-specific controls
- Apply card-level rules only for special cases or exceptions
This layered strategy provides flexible protection that can be adjusted at different levels without disrupting the entire control structure.
Additional Resources
While the Dashboard interface simplifies rule management, additional resources are available for specific scenarios:
- The HELP button in the Lithic Dashboard connects users to the support team
- The API documentation provides technical details about rule functionality
- Customer Success representatives can provide strategic guidance on rule implementation
Updated 9 days ago